Press-on nails typically come in a kit that includes the nails, a cuticle pusher, a file, and nail glue. To apply press on nails, start by adding a thin layer of nail glue or adhesive to your natural nail, and be sure to cover it completely. Then add a drop of nail glue to the inside base of the press-on, avoiding the free edge. Finally, use tweezers to pry open an edge between the press-on nail and your natural nail, and apply a few drops of your cuticle oil in the opening as well as all the areas under your press on. Rock the nails back and forth to know when they are loose enough to pull out. Here’s a general guide to help you create your own press-on nails:
How To Make Press On Nails And Remove Them
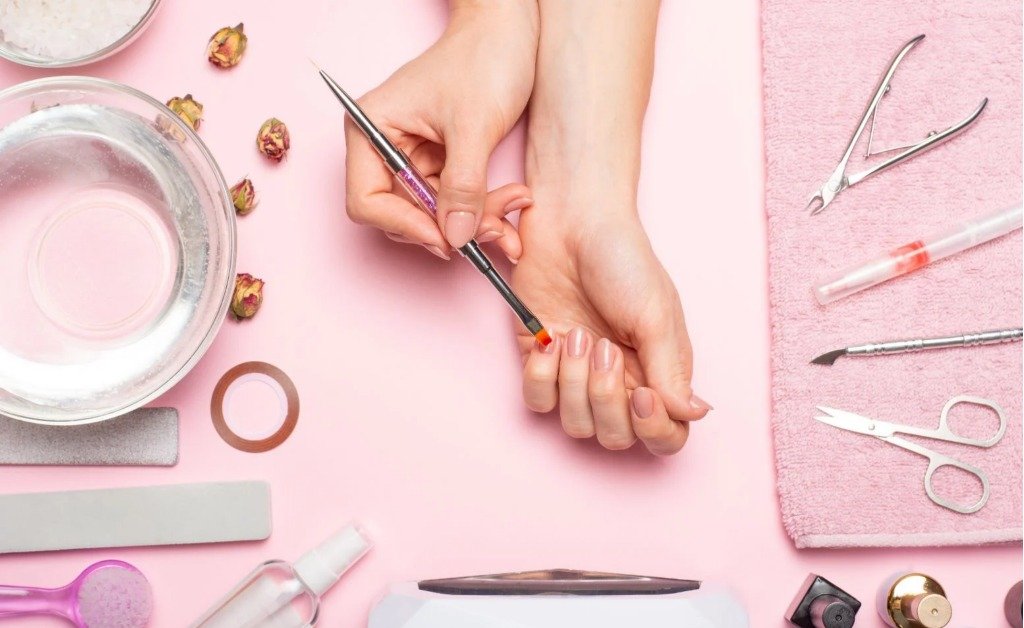
Press-on nails are artificial nail enhancements that can be easily applied and removed at home. They come in various shapes, sizes, colors, and designs to suit your preferences and occasions. To make your press-on nails, you will need the following items:
- A kit of press-on nails that matches your natural nail size and shape. You can buy them online or at a beauty store, or you can make your own by cutting and filing artificial nail tips.
- A cuticle pusher gently pushes back your cuticles and creates a smooth surface for the press-on nails.
- A nail file to shape and smooth the edges of your natural nails and the press-on nails.
- Nail glue or adhesive to attach the press-on nails to your natural nails. Make sure to use glue that is specifically designed for press-on nails, as regular nail glue can damage your natural nails or cause allergic reactions.
- Tweezers to help you apply and remove the press-on nails without touching the glue.
- Cuticle oil to moisturize your natural nails and the skin around them after removing the press-on nails.
To apply the press-on nails, follow these steps:
- Clean and dry your natural nails and hands thoroughly. Remove any nail polish, dirt, or oil from your nails with a nail polish remover and a cotton pad.
- Use the cuticle pusher to push back your cuticles gently. Do not cut or trim your cuticles, as this can cause infections or bleeding.
- Use the nail file to shape and smooth the edges of your natural nails. You can also lightly buff the surface of your nails to remove any shine and create a better grip for the glue.
- Wipe your nails with a cotton pad soaked in rubbing alcohol to remove any dust or residue.
- Select the press-on nails that fit your natural nails best. You can use a nail sizing chart or compare them with your natural nails to find the right size. If the press-on nails are too big or too small, you can trim or file them to fit your nails better.
- Apply a thin layer of nail glue or adhesive to your natural nail, covering the entire nail surface. Avoid getting any glue on your skin or cuticles, as this can cause irritation or damage.
- Apply a drop of nail glue or adhesive to the inside base of the press-on nail near the cuticle area. Do not apply glue to the free edge of the press-on nail, as this can make it harder to remove later.
- Use the tweezers to pick up the press-on nail and align it with your natural nail. Press the press-on nail firmly onto your natural nail, starting from the cuticle area and moving towards the free edge. Hold the press-on nail in place for about 15 seconds or until the glue sets.
- Repeat steps 6 to 8 for the rest of your nails, one at a time. Make sure to apply the press-on nails in the same order as your natural nails, from thumb to pinky or vice versa.
- Enjoy your beautiful press-on nails!
To remove the press-on nails, follow these steps:
- Use the tweezers to gently lift an edge of the press-on nail from your natural nail. Do not pull or force the press-on nail off, as this can damage your natural nail or cause pain.
- Apply a few drops of cuticle oil to the lifted edge of the press-on nail and the area under the press-on nail. The oil will help to dissolve the glue and make it easier to remove the press-on nail.
- Gently rock the press-on nail back and forth until it comes off. Do not twist or bend the press-on nail, as this can break it or hurt your natural nail.
- Repeat steps 1 to 3 for the rest of your nails, one at a time. Make sure to remove the press-on nails in the same order as you applied them, from thumb to pinky or vice versa.
- Use a cotton pad soaked in nail polish remover to wipe off any glue residue from your natural nails.
- Use the cuticle pusher to gently push back your cuticles and remove any dead skin or debris.
- Use the nail file to shape and smooth the edges of your natural nails.
- Apply cuticle oil to your natural nails and the skin around them to moisturize and nourish them.
- Store the press-on nails in a clean and dry place for future use. You can reuse them as long as they are in good condition and fit your natural nails well.
How To Apply Press On Nails At Home
To make press on nails at home, follow these steps:
Preparation
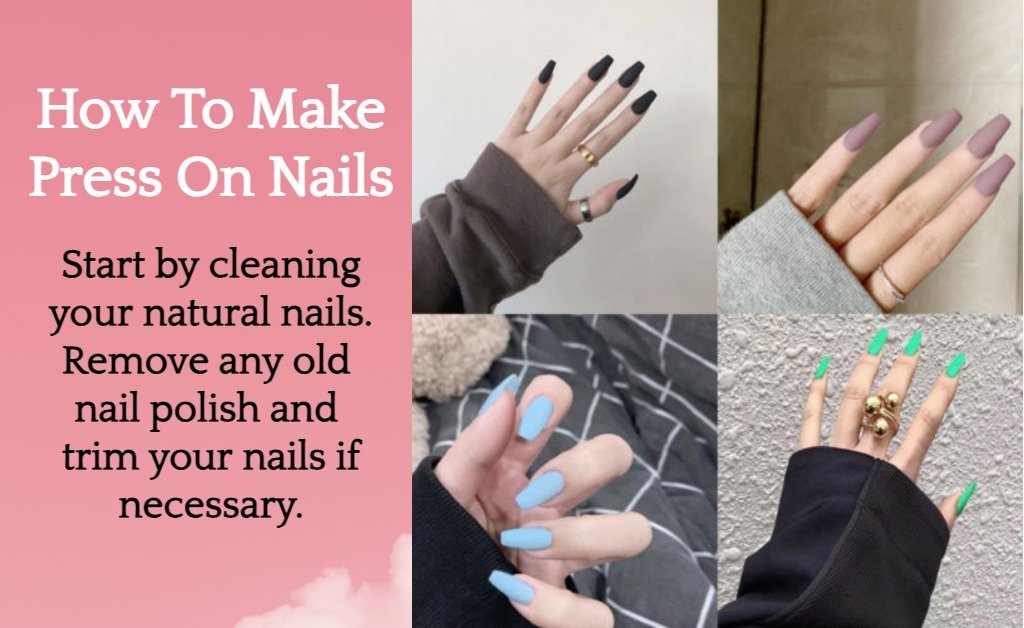
Start by cleaning your natural nails. Remove any old nail polish and trim your nails if necessary. Push back your cuticles using a cuticle pusher, and trim any excess cuticles using a cuticle trimmer. Buff the surface of your nails gently to create a slightly rough texture. This will help the press-on nails adhere better.
Prep Your Natural Nails
Start by cleaning and buffing your natural nails. Trim them to a suitable length if necessary. Make sure your nails are clean and free from any old nail polish or oils.
Choose Nail Tips
Select artificial nail tips that fit your natural nail size and shape. You can find a variety of pre-formed nail tips at beauty supply stores or online.
Trim and File
If the nail tips are too long, trim them to your desired length using nail clippers. Then, use a nail file to shape the tips to match the curves of your natural nails.
Paint and Decorate
This is where you can get creative! Paint the nail tips with your chosen nail polish colors. You can also add nail art, designs, or decorations like rhinestones, stickers, or small decals. Let the polish and decorations dry completely before moving to the next step.
Apply Glue or Adhesive Tabs
You can choose to use nail glue or adhesive tabs for attaching the press-on nails. If using glue, carefully apply a small amount onto the back of the artificial nail tip. If using adhesive tabs, follow the instructions provided on the packaging.
Attach the Press-On Nails
Gently press the artificial nail tip onto your natural nail, starting from the cuticle area and pressing down towards the tip. Hold it in place for a few seconds to allow the glue or adhesive to bond securely. Make sure the press-on nail is aligned properly.
Final Touches
Once all the press-on nails are attached, do a final check to ensure they are securely in place. If needed, you can use a nail file to smooth out any edges or uneven areas for a seamless look.
Finishing Coat (Optional)
Applying a clear topcoat can help seal the nail polish and decorations, adding an extra layer of protection and shine.
Maintenance and Removal
Avoid excessive contact with water for a few hours after application to allow the adhesive to fully set.
To remove the press-on nails, soak them in warm, soapy water for a few minutes to loosen the adhesive. Gently lift them off using a cuticle pusher. Avoid forceful removal, as it can damage your natural nails.
How to make press on nails with gel
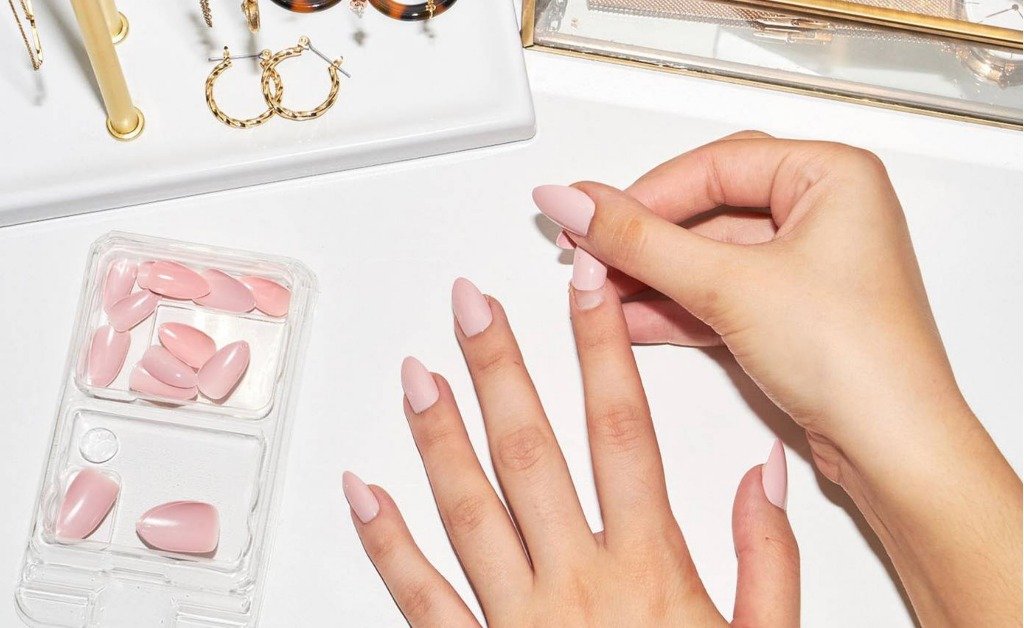
To make press on nails with gel, start by cleaning your nail beds and the base of the press-on nails with acetone polish remover. Then, lightly etch the nail plate with a nail file or coarse buffer and clean the press-on and your natural nail with alcohol or acetone.
Next, apply a thin layer of nail glue or adhesive to your natural nail, and be sure to cover it completely. Finally, add a drop of nail glue to the inside base of the press-on, avoiding the free edge. Allow the second coat to cure for about 2 minutes under a UV lamp or about 30 seconds under an LED lamp. Finally, wipe away the tacky dispersion layer with gel cleanser.
How to make press on nails with paper
Press-on nails typically come in a kit that includes the nails, a cuticle pusher, a file, and nail glue. To make press on nails with paper, start overlaying the paper directly on the nail and using tweezers to position it so that your nail is fully covered. Then, use a cotton bud dipped in water to press all over your nail for about half a minute until the print is fully transferred.
Finally, apply one finger at a time, covering your whole nail with glue, then aligning the press-on with your nail bed and pressing down firmly for 20 seconds.
Remember that press-on nails are temporary and will last for a few days to a week, depending on the quality of the glue or adhesive tabs used and how well you care for them.
Always be cautious when using nail glue and other products, and make sure to follow the manufacturer’s instructions for safe and effective application. If you’re new to press-on nails, consider practicing on a few nails before applying them all to ensure you get the hang of the process.
Make your own press on nails Kit
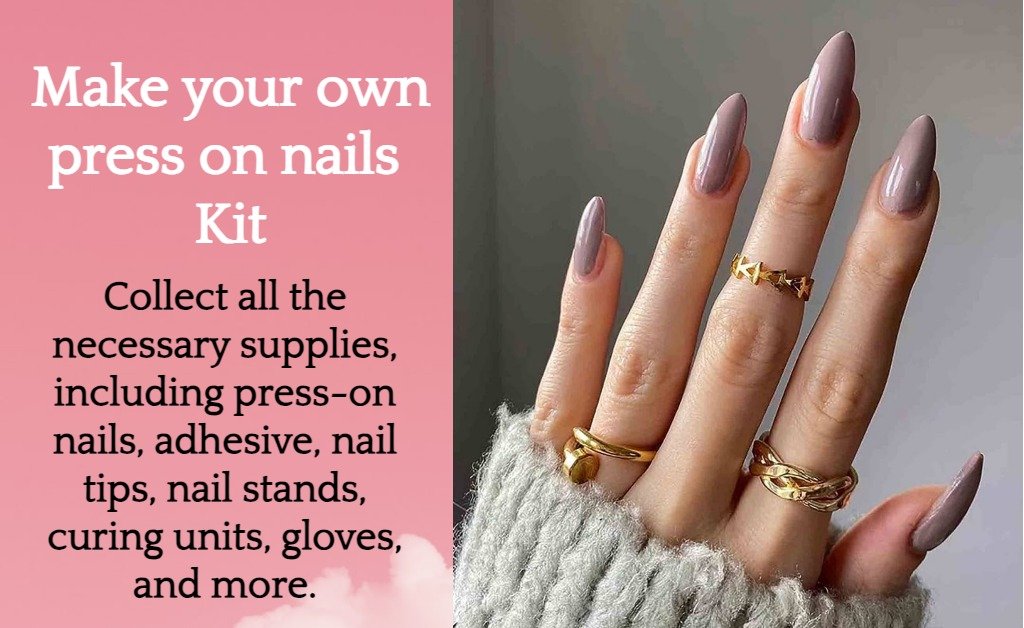
To create your own press on nails kit, follow these general steps:
- Nail Shape Selection: Choose a nail shape, length, and size that you prefer.
- Preparation: Buff the press-on nails to create a smooth surface.
- Cleanse Nails: Wipe each nail with alcohol to remove any oils or residues.
- Gather Supplies: Collect all the necessary supplies, including press-on nails, adhesive, nail tips, nail stands, curing units, gloves, and more
- Nail Tips Preparation: Prep your nail tips and stands for ease of application.
- Application: Apply adhesive to the press-on nails and then press them onto your natural nails.
- Curing: Depending on the adhesive used, you might need to use curing units or follow specific instructions for drying and setting the press-ons.
For added guidance, some websites provide kits and tutorials for creating custom press-on nails at home. Consider experimenting with different designs, colors, and finishes to achieve the desired look.
Please note that the specifics of creating a press-on nails kit can vary based on the materials and techniques you choose, so it’s recommended to refer to detailed tutorials or kits offered by reputable sources.
How to make press on nails with polygel
To make press-on nails with polygel, you can follow these steps:
Preparation
Start by prepping your natural nails. Push back cuticles, shape nails, and gently buff the surface for better adhesion.
Polygel Application
Squeeze a small amount of polygel onto a nail form or press-on nail mold. Use a brush and some slip solution (isopropyl alcohol or gel cleanser) to shape and spread the polygel evenly over the mold to match your nail shape.
Press-On Creation
Once you’re satisfied with the polygel application, press the mold onto your natural nail, making sure it adheres well. You can use a slip solution on your brush to prevent sticking.
Curing
If your polygel requires curing, use a UV or LED lamp according to the product instructions to cure the polygel. This will ensure it hardens and sets properly.
Finishing Touches
Gently remove the press-on nail from the mold. Trim, shape, and file the press-on to your desired length and shape. You can also add nail art, polish, or decorations at this stage.
Attachment
Apply a layer of nail glue or adhesive tabs onto your natural nail. Press the polygel press-on nail onto your natural nail and hold it in place for a few seconds to ensure a strong bond.
How to make press on nails with acrylic
To create press-on nails with acrylic at home, you can follow these steps:
Preparation
Gather the necessary supplies, including acrylic powder, acrylic liquid, nail tips, a brush, a dappen dish, nail glue, a buffer, and a UV or LED lamp.
Prep Your Natural Nails
Start by cleaning and filing your natural nails. Push back your cuticles and apply a dehydrator to remove any oils from the nail surface.
Select Nail Tips
Choose the nail tips that match the size and shape of your natural nails.
Apply Nail Tips
Apply nail glue to the back of each nail tip and press them onto your natural nails. Trim and shape the tips as needed.
Acrylic Application
In a dappen dish, pour some acrylic liquid and dip your brush into it. Then, dip the brush into the acrylic powder to create a bead. Apply the bead to the area where the nail tip meets your natural nail, creating the acrylic overlay. Shape and smooth the acrylic with the brush. Repeat this process for each nail.
Curing
If you’re using UV or LED-curable acrylic, cure the nails under the lamp according to the product’s instructions.
Buff and Shape
Once the acrylic has cured and hardened, use a buffer to smooth out any imperfections and shape the nails to your desired length and shape.
Finishing Touches
Clean the nails with a lint-free wipe and rubbing alcohol to remove any dust. Apply a layer of clear topcoat to seal and protect the acrylic.
Conclusion
When it comes to creating press-on nails, there are a few key points to remember. As you conclude your press-on nail creation process, ensure that you have cleaned your work area thoroughly and put on a pair of gloves to maintain hygiene and prevent contamination.
FAQs
How do you describe press on nails?
Press-on nails, also known as glue-on nails, are artificial nails made of materials like acrylic resin or plastic. They are designed to be easily applied over the natural nails without causing damage. These nails can be affixed using adhesive tabs or nail glue. Press-on nails offer a convenient way to achieve various nail styles, lengths, and designs without the commitment of traditional acrylic or gel extensions.
How long do press-on nails last for?
The durability of press-on nails varies on factors such as the quality of the nails, adhesive used, and daily activities. On average, press-on nails can last anywhere from ten days to two weeks. Higher-quality nails and proper application techniques tend to result in longer-lasting wear.
What are press-on nails made of?
Press-on nails are typically made from acrylic, gel, or a combination of materials. They are pre-shaped and pre-designed, and their composition allows for flexibility, durability, and ease of application.
What are the different styles of press-on nails?
Press-on nails come in different styles, including classic, stiletto, coffin, square, and almond shapes. Designs range from solid colors to intricate patterns, allowing individuals to find a style that suits their preferences.

