Introduction
Dip powder manicures have grown enormously popular for their lasting power and low-maintenance ways of applying and maintaining the look at home between salon visits. One common question from dip fans is how to refresh their existing enhancement by applying traditional nail polish colors on top. Layering lacquer over dip gives a new pop of color without the full removal and reapplication process. However, there are some important factors and proper techniques to follow for a seamless polished look.

How Do You Apply Nail Polish Over Dip Powder
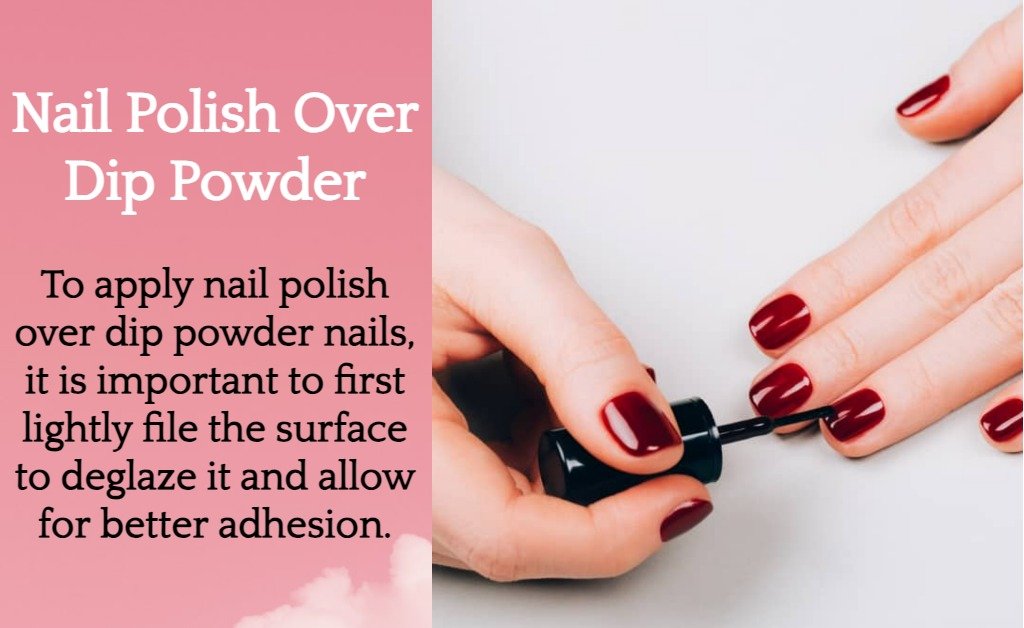
To apply nail polish over dip powder nails, it is important to first lightly file the surface to deglaze it and allow for better adhesion. The nails also need to be thoroughly cleaned with isopropyl alcohol. Then nail polish, preferably a no-wipe or fast dry variety, can be applied in thin coats, allowing proper drying time between each. It is best to seal with two coats of top coat to protect the color underneath. With the right preparation and application technique, nail polish can provide vibrant color and creativity while the durable dip powder underneath remains intact. Below are some of steps to apply nail polish over dip powder
Few Steps For How To Apply Nail Polish Over Dip Powder

Preparation
Before adding polish to dip nails, the existing enhancement layer must be properly prepped. This involves:
- Lightly filing the surface with a 200-grit file to deglaze and promote adhesion. Avoid heavy filing that risks damage.
- Gently push back cuticles without cutting or risk bleeding under polish.
- Thoroughly wipe nails with isopropyl alcohol on a cotton pad to dehydrate and cleanse the nail plate.
- Double check for any lifting edges or spots needing reinforcement with more dip powder before polishing.
- Proper dehydration and a slightly roughened nail texture promote strong bonding between existing dip layers and new polish atop. Cuticle pushing prevents lacquer from peeling prematurely at the sides.
Choose a Quality Top Coat or Polish
When polishing dip nails, reach for long-wearing, high quality formulas designed for maximum durability to prevent chipping against tough manicures underneath. Consider these options:
- A fast-dry top coat – Use as a protective barrier between dip and polish for slick adhesion.
- No-wipe polishes – Eliminate tacky residue washing away sealer layers.
- Gel-effect lacquers – Provide gel-like shine and flexible wear without UV lamps.
- Matte or flaky top coats – For trendy distressed finishes layered post-polish drying without reactivation.
- Dip-specific polishes – Formulated for optimal bonding to dip treatments.
Avoid cheap polishes prone to premature wear that risk damage when trying to remove failed color coats from reinforced nails. Invest in professional-grade lasting shades.
Painting and Sealing Technique
With prep complete, employ a gentle layered application of polish over dips:
- Start at the center of each nail and smoothly stroke color outward and to the tips in thin even coats for full coverage.
- Allow proper drying time between coats detailed in product instructions.
- To seal, apply two thin coats of the fast-drying top coat using the same brushingstrokes.Cure fully before use.
- Early application of sealer minimizes air bubbles forming under polish from accidental bumps during drying.
- Ensure complete edge-to-edge coverage and overlapping of the lateral nail folds to prevent chipping at the sides.
Don’t stack thick layers prone to cracking and consider matte or flaky topper layered post-dry for striking finishes without reactivation.
Maintenance and Longevity
To maintain dip nails with the glossy layered look between fills:
- Continue pushing back cuticles with cuticle remover cream or stick regularly.
- Moisturize daily with non-oil-based cuticle cream or argan oil to keep skin supple.
- Gently wipe nails as needed with cuticle balm on a cotton pad to remove debris and restore shine without stripping layers.
- Apply more dip powder or lacquer as needed to touch up chipped areas for weeks of fabulous color.
Consider color switching every 1-2 weeks for visual variety before full removal is due, letting the underlying dip structure remain intact.
With diligent care cuticles stay sealed and layered polishes protected from premature wear against the durable reinforced foundation beneath for beautiful long-lasting coated nails.
Dip Nails Removal Considerations

When dip nails have fully grown out, entire enhancements and any polish coats must be removed:
- Soak nails for 15-30 minutes in 100% acetone to gradually dissolve rigid dip and polish bonds.
- Gently push back cuticles and push polish off with a wooden stick by sliding it under lifted edges.
- For any residual polish, wipe with acetone on a ball, then re-soak nails and repeat the technique until fully dissolved.
- Moisturize well once complete restoring flexibility without dryness from acetone contact.
Take breaks between full set applications to reduce stress on natural nails and allow proper growth before dip reinforcement and polishing continue keeping fingernails polished for weeks at a time with low maintenance.
Ideas for Creative Polish Combinations
With an understanding of the proper layered application, here are some ideas for striking looks combining colorful polish over dip nails:
- Striped nails – Apply thin polish coats one color per nail for a traffic-stopping graphic look.
- Glitter gradients – Dust fine glitter loose over the wet nail polish for a reflective fade.
- Water marble – Mix polish colors on a water surface and drag nails through patterns.
- Negative space – Paint nails leaving a fun-shaped blank canvas for dip or art.
- Dual chromes – Swipe two shifting duo-chrome polishes lightly together for a multidimensional effect.
- Matte ombré – Blend matte shades from light to dark along the nail for edgy flair.
So venture out of your comfort zone and unleash your creativity when layering complementary shades of polish atop durable reinforced nails!
Conclusion
By following proper preparation, application, and maintenance techniques, applying traditional nail polish shades right over existing dip powder nails is completely feasible for a reinvented look. Extended wear polishes protect underlying enhancements adding weeks of visually Interesting layered manicures displaying personal style with low-fuss care.
FAQs
Why should you file the dip nails before polishing?
Filing the dip nails first lightly deglazes the surface and roughens it, which allows for better adhesion of the new nail polish layer.
What is used to clean the nails?
Nails are cleaned with isopropyl alcohol before applying polish. It evaporates quickly and dehydrates the nails, removing any oils that could interfere with bonding.
Which types of polish work best?
No-wipe or fast-drying polishes that don’t require wiping off tacky layers work best over dip. They allow for quick sealing and protect underlying dip powder.
How many coats of color should be applied?
It’s best to apply nail polish over a dip in thin, even coats, allowing full drying in between each coat to achieve complete coverage without runs or piles.
Should a topcoat be applied?
For maximum durability, seal with two thin coats of fast-drying topcoat brushed on neatly. This protects the color and prevents premature chipping against tough dip nails.
How can finishes be added?
Matte, glitter, or other toppers can be layered smoothly over dry polish for striking finishes without needing light activation against the set dip below.
How should cuticles be handled?
Gently pushing back cuticles before polishing helps seal the color flow smoothly along the edges for a protected, flawless finish.
How often can the polish be reapplied?
Color can be refreshed every 1-2 weeks as desired while the underlying dip structure stays neatly intact for continued weeks of wear.
How is the removal of layers handled?
When full renewal is due, soak nails in acetone to gradually dissolve bonds between dip and polish for a thorough removal.
What should be used for maintenance?
Daily wipe-cleaning and moisturizing helps maintain shiny polished color over durable reinforced dip nails between full resets.
Discover more from Beauty Fashion Palace
Subscribe to get the latest posts sent to your email.


