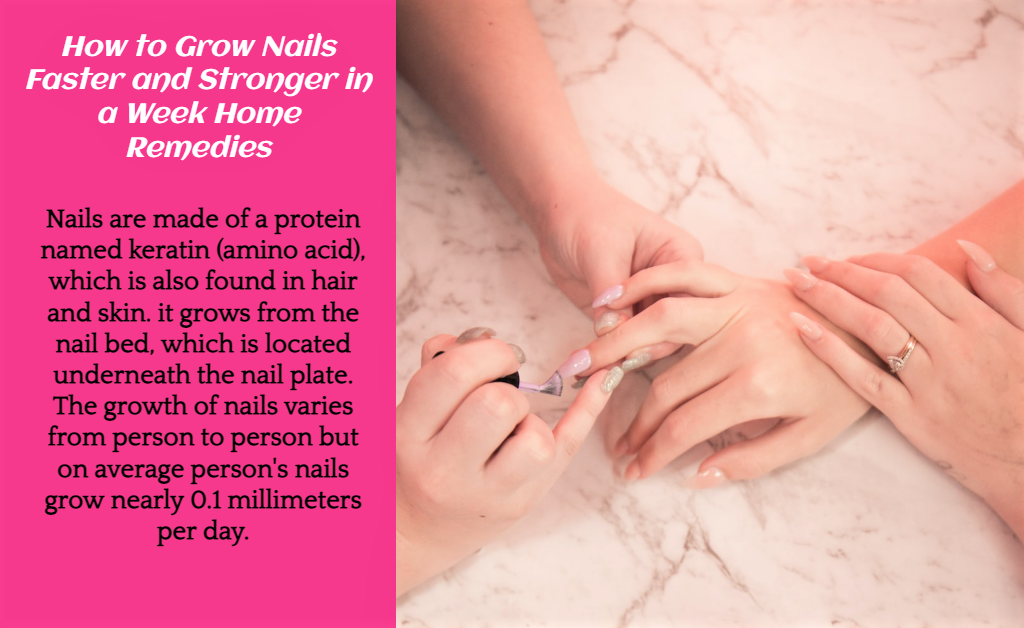
Gel nails are a type of nail polish that is made-up with a UV nail lamp to develop a shiny and long-lasting manicure that you don’t have any time to dry them. Here is how you can do gel nails at home step-by-step guide. First comes thorough nail prep – buffing, cuticle pushing, and measuring tips or forms for proper fit. Then it’s time to apply your base coat and cure.
Next, you’ll paint on two thin, even coats of your chosen color, curing between each layer. Don’t forget to work in small sections to prevent smudging. Once your color coats are fully cured, apply a glossy top coat. Be sure to cure one final time under the lamp. For best longevity, do an additional cure the next day. When it’s time to remove after 2-3 weeks, gently file and soak in acetone.

Preparing Your Gel Nails At Home
Before beginning, make sure to have a well-lit and ventilated area to work. Clear a clean, flat surface and protect it with a towel. Gather all your supplies nearby – lamps, polishes, brushes, tips/forms, prep solutions, and tools. Organizing your station is key.
Nail Prep
Proper prep is essential for the gel to adhere properly. Use a 180-grit buffer to gently remove shine and clean under nails. Then push back cuticles without cutting them. Avoid filing too much of the natural nail plate, as this can weaken nails over time. Wipe away dust with acetone or isopropyl alcohol.
Sizing and Applying Tips or Forms
Tips provide strength and length, while forms allow you to enhance natural nails. Measure tip size against your nail bed. Trim if needed using nail clippers or scissors. Apply a small amount of glue to the well of the tip and position it correctly on the nail. Gently press for 10 seconds as the glue sets. Repeat for all nails. Check for proper fit and redo any that are crooked.
Base Coat Application
With clean, dry nails, apply a thin, even layer of base coat to each nail bed and tip using the small brush. Don’t get any on the skin. Cure under the LED lamp for 30 seconds to prep nails for color application. This seals the nail surface.
Gel Polish Application
Start with your non-dominant hand. Shake the polish bottle well before use. Apply two thin coats of color, allowing each to cure fully under the lamp for 30-60 seconds between coats. Work in small sections to prevent smudging. Don’t overload brushes. Cure additional coats if needed to reach your desired opacity and smoothness.
Top Coat Application
Apply a thin, even layer of fast-drying top coat to seal and protect the manicure. This will provide a glossy shine and prevent chipping. Cure under the lamp once more. For best results, do an additional cure the following day.
Removal and Maintenance
Gel polish lasts 2-3 weeks with proper care. When ready for removal, gently file away the shiny layer before soaking nails in acetone for 5-10 minutes. The polish will then wipe away easily without damaging nails. Moisturize cuticles daily to keep them soft. Reapply gel or regular polish as desired.
Conclusion
In conclusion, I hope this comprehensive guide has fully equipped and empowered you to start enjoying the benefits of gel nails from the comfort of your home. With proper preparation, application techniques, and curing processes, you can achieve stunning, long-lasting results safely. As always, please feel free to consult with me throughout your nail journey. My role is to support your self-care and ensure your well-being above all else.
FAQs
Is it safe to do your own gel nails at home?
Yes, absolutely – as long as you follow all safety precautions like proper curing, ventilation, and removal instructions. The gel is no more dangerous than regular nail polish when done correctly.
How can I do gel nails at home without UV light?
You’ll need an LED or UV lamp to cure the gel. Some kits offer LED options that are safer than UV lamps. Without curing, the gel won’t fully harden.
Is it worth it to do your own gel nails?
Definitely! With practice, you can achieve salon-quality results while saving money. It’s also a wonderful self-care activity you can enjoy whenever you like.
Is the UV light for gel nails harmful?
UV lamps emit very low levels of UV rays that are considered safe with proper use. However, LED lamps don’t use UV at all and are generally safer for sensitive skin/eyes.
Can you let gel polish dry naturally?
No, gel polish must be cured under a lamp in order to fully harden. Air drying won’t set the polish properly.
Will gel polish dry without a UV lamp?
Gel polish will not fully dry or cure without being activated by an LED/UV lamp. It needs the directed light energy to fully polymerize.
Is UV light necessary for gel nails?
While UV was traditionally used, modern LED lamps are just as effective and safer for curing gel polish. A light source is required for curing but does not have to be UV specifically.
What do I need to know before doing gel nails at home?
Make sure to have the proper supplies, and workspace, and understand all steps/safety guidelines before trying gel nails at home for the first time. With care, it can be done safely.
What is the healthiest way to get your nails done?
Soft gel extensions are generally the most gentle as they don’t require filing the natural nail bed. Regular moisturizing and giving nail breaks between services are also important.
Is there a safe way to get gel nails?
Yes, when applied and removed properly by a licensed professional or yourself at home following all instructions. Be sure to use good ventilation and avoid direct UV exposure.
Is gel nails safer than acrylic?
Generally yes – gel polish forms a flexible bond without adding bulk underneath nails. Acrylics require more filing which can weaken nails over time with frequent use.


