Designing your dip powder nails is a good way to showcase your creative flair and personal style. Whether you prefer cute designs, floral motifs or abstract art, with a few basic supplies and techniques, you can design beautiful custom nails right at home. I you are wondering how to do designs on dip powder nails then don’t worry and follow these steps. To start, make sure your nails are prepped and coated with the base layer of dip powder. Then gather your dotting tools, nail art brushes and acrylic paints or gel polishes in your favorite colors. For a clean workspace, place a piece of paper below to catch any stray dots or lines.
How to Designs Dip Powder Nails
Some easy designs to try are dots, stripes or flowers. For dots, dip the small end of a dotting tool into polish and gently dab it onto the nail in any pattern you like. Stripes are made by gently brushing polish back and forth with a nail art brush. And flowers are achieved by layering dotting tool dots of different sizes.

You can also write words or initials on nails using the nail art brush. Take your time and go slow for neat lettering. Another cute look is French tips, made by brushing a thin white or nude stripe at the tip of the nail.
Once complete, seal your designs with a glossy top coat to protect them. Add some jewels, stickers or other embellishments if desired. Your finished nails are sure to turn heads, my darling! With practice, your skills will grow but even simple designs make a statement.
How to do designs on dip powder nails
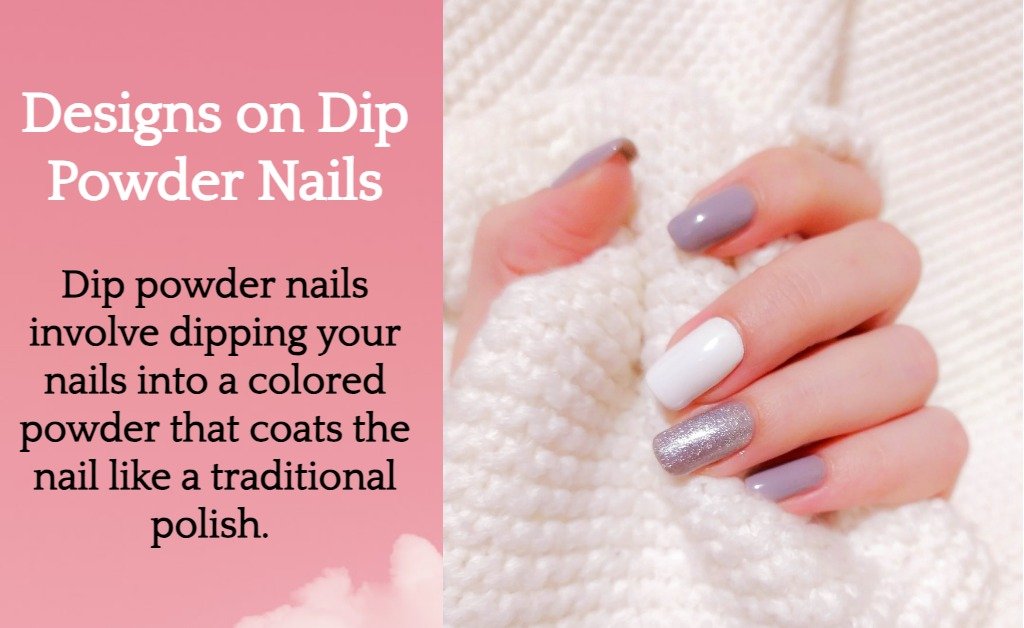
Dip powder nails involve dipping your nails into a colored powder that coats the nail like a traditional polish. First, you need to prep your nails by cleaning and sanitizing them, grooming your cuticles, shaping and filing them, and gently buffing them. Then, depending on the kit, you may need to apply a file and then a base coat.
Then, dip each nail into the powder at a 45-degree angle, stop to tap off the excess, then dip again until you have an even layer of opaque color. Finally, add a top layer and activator/sealant for a distinctive and unique result.
Materials You’ll Need:
- Dip powder kit (base coat, dip powder colors, activator, top coat)
- Nail file and buffer
- Small brushes (for design work)
- Nail art accessories (optional, like rhinestones, stickers, etc.)
- Alcohol or acetone (for cleaning brushes)
- Cotton swabs or brushes (for cleanup)
- UV or LED lamp (if required by your kit)
Step by Step design your dip powder nails

Dot Manicure
After base coat, take a small dotting tool dipped in pink and place dots in rows from bottom to top on each nail. Then with white, add smaller dots between for a cute dotted effect.
French Tips
Once nails are prepped, carefully brush a thin line of white polish across the tip using a detail brush. Let dry before topcoat. So elegant and classic!
Heart Accents
Dip a dotting tool in red and make a row of hearts near the cuticle on each nail. Fill them in and add a clear top to shine. Your love and kindness will shine through with this sweet design.
Floral Fantasy
On ring fingers, create layered pink and yellow dot flowers using various size dotting tools. On other nails, green stems and leaves done with the brush will complete your garden nails.
Steps for designing your nails.
1. Prepare Your Nails:
- Ensure your nails are clean and free from any previous nail polish or residue.
- Push back your cuticles and shape your nails using a nail file.
- Gently buff the surface of your nails to remove shine, which will help the dip powder adhere better.
2. Apply Base Coat:
Apply a thin layer of the base coat to one nail at a time. Avoid getting the base coat on your cuticles or skin. Immediately dip the nail into the clear dip powder at a 45-degree angle, then tap off the excess powder.
3. Repeat the Dipping Process:
Apply the base coat and dip the nail into the powder again for a second layer. This helps build thickness and color intensity. Repeat this process for all nails.
4. Apply Activator:
Once you’re satisfied with the dip layers, apply the activator to all nails. This helps set and harden the dip powder.
5. Shape and Buff:
Use a nail file to shape the nails as desired. Gently buff the surface of the nails to smooth out any imperfections. Be careful not to over-buff, as dip powder nails can become thin.
6. Apply Top Coat:
Apply a layer of the top coat to each nail, making sure to seal the edges. Allow the top coat to dry and harden. This step gives the nails their shine and protects the design.
7. Creating Designs:
Use thin nail art brushes to paint intricate designs with additional dip powder colors. You can create lines, shapes, patterns, or any other design you like. If you’re using nail art accessories like rhinestones or stickers, apply them while the top coat is still wet. You can secure them using a small amount of top coat.
8. Cure (if needed):
If your dip powder kit requires curing with a UV or LED lamp, follow the manufacturer’s instructions to cure the top coat and any nail art elements.
9. Cleanup:
If you accidentally get dip powder or design elements on your skin, use a cotton swab or brush dipped in alcohol or acetone to clean up the edges for a neat finish.
10. Final Top Coat:
Apply a final layer of top coat to seal in your designs and give your nails a glossy finish. Allow the top coat to dry completely.
Remember, practice makes perfect! Don’t be discouraged if your first attempts aren’t flawless. With time and patience, your dip powder nail designs will improve.
Conclusion
I hope this has given you some dip nails designing ideas to try out designs on your dip powder nails. Whether you go bold or keep it basic, the process is relaxing and allows your imagination to shine through. Our provided simple yet effective ways for you to add some flair and personalization to your dip powder manicures. Whether dots, stripes or flowers, with just a few polishes, brushes and dotting tools and some patience, you can craft cute customizations that are sure to bring a smile. I explained how to prep the nails and neatly apply classic designs like French tips or initials. While your skills will evolve over time, even basic patterns are a fun way to unleash your inner creativity. I hope you’ll let me practice with you sometime soon.
FAQs
How long do the designs last?
With a good top coat applied, basic nail art designs on dip powder nails can typically last 5-7 days before needing a refresh. Proper application and care will help maximize the wear time.
What is the best top coat to use?
Look for a quick dry, high gloss top coat formulated for use with dip powders and gel polishes. Brands like Makartt and Beetles work very well to seal in designs and protect the nails.
How can I clean up mistakes?
For smudges or stray polish dots, gently wipe with a small brush dipped in acetone or nail polish remover before it fully cures. You can also cover with white or a coordinating color and redesign over it.
What tools do you recommend?
At minimum, dotting tools in various sizes, a small nail art brush, and acrylic paints or gel polishes will allow you to create many basic designs. Investing in a nail art pen is also handy for stripes and clean lines.
How can I make my designs more intricate?
With practice of the basics, you can progress to techniques like french gradients, watercolor ombres, marble patterns, and detailed illustrations using small brushes.


