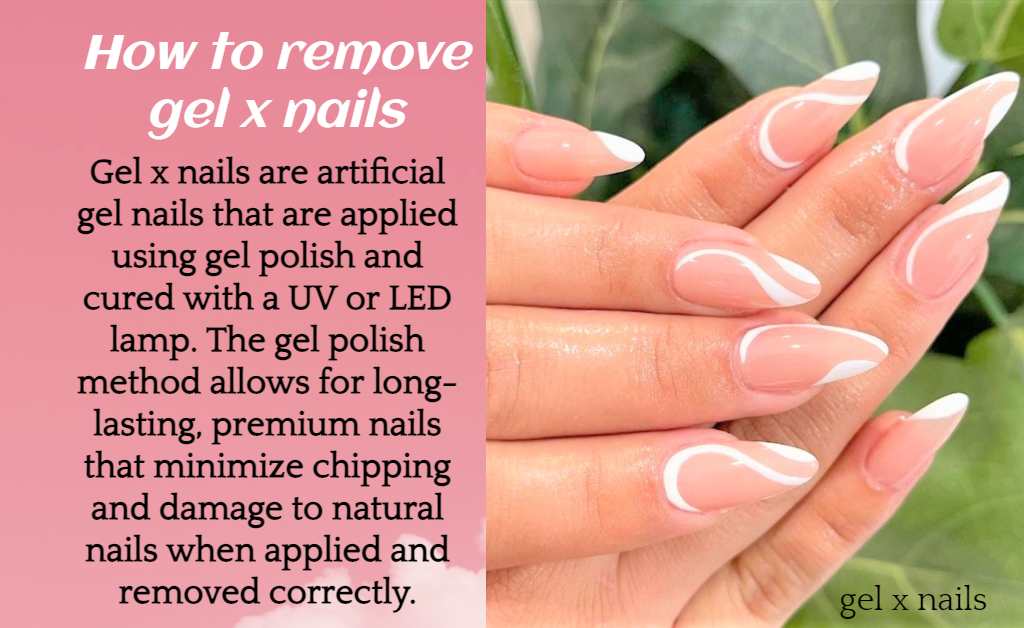
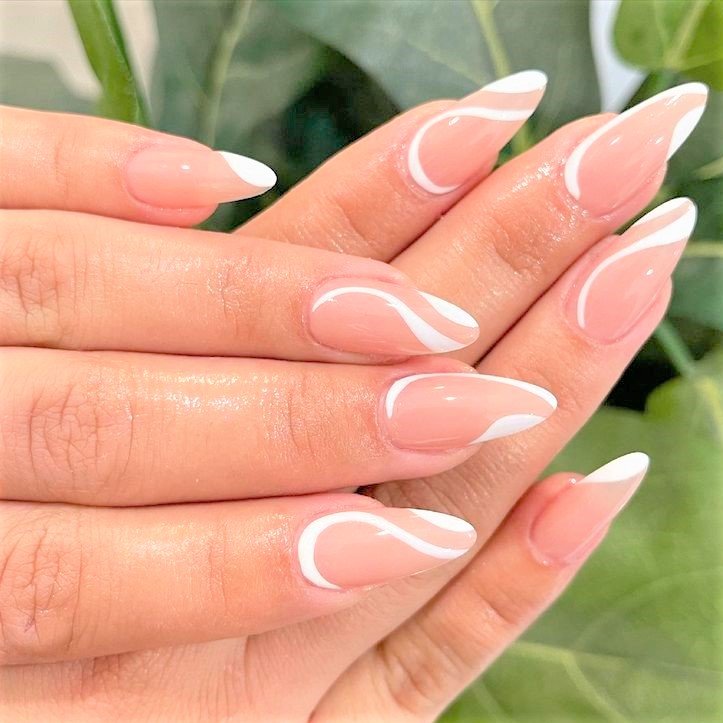
Gel x nails are a type of artificial nails that use gel polish to create a natural-looking and long-lasting manicure. Gel polish is applied over a specially designed nail tip and cured with a UV or LED lamp. This method minimizes chipping and damage to the natural nails when done correctly. However, gel x nails also require proper removal to avoid harming the nail bed and cuticles.
If you love gel x nails and want to learn how to remove them at home safely and easily, you are in the right place. In this post, we will show you the best way to remove gel x nails at home without damaging your nails.
Removing Gel X Nails at Home
Gel X manicures provide durable, glossy nails for up to 2 to 3 weeks without chipping and smudging. However, the time will come when those gel nails need to be removed. While salons use specialized equipment and techniques to safely remove gel nails, while it is possible to remove gel X nails at home by yourself at home without taking any damage to your nails.
Here is the complete process to remove gel x nails at home safely and easily:
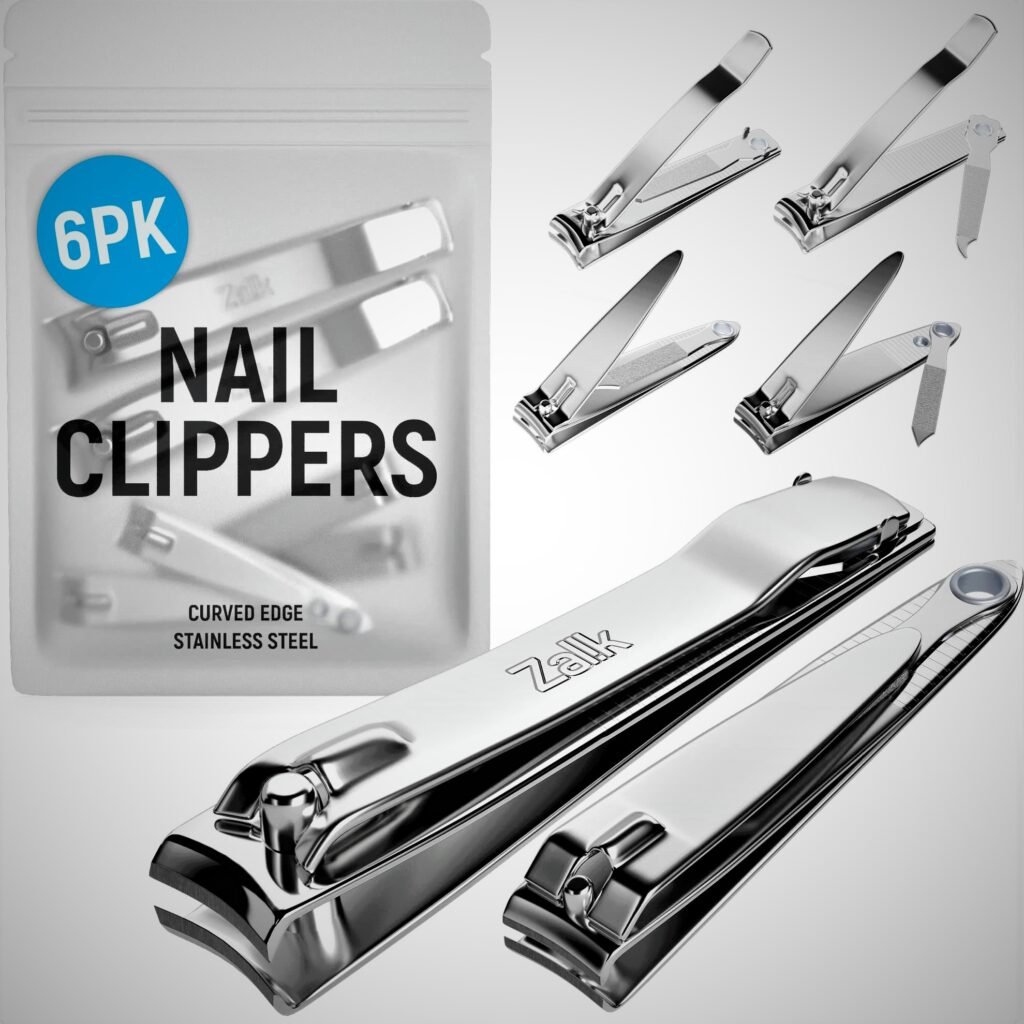
- Trim your gel x nails to the end of your natural nail using a nail clipper. This will make the removal process faster and easier.
- Use a thick nail file (180 grit or lower) to gently buff the surface of your gel x nails. You want to remove as much of the top coat and gel polish as possible, but avoid filing too hard or too long on the same spot. This will prevent damaging your natural nails and cuticles.
- Cut ten pieces of aluminum foil into 3 x 5 inches rectangles. Soak a cotton ball thoroughly with 100% pure acetone and place it on your first nail. Wrap the foil around your finger, twisting the end to secure it under your nail. Repeat this step for all your nails. You can also use nail polish removal clips to hold the cotton balls in place if you have them.
- Wait for 15 to 20 minutes for the acetone to dissolve the gel x nails. You can check the progress by gently lifting the foil and cotton ball from one nail. If the gel x nail is still hard and stuck, wrap it back and wait for a few more minutes.
- Once the gel x nails are soft and loose, use a metal cuticle pusher to gently scrape them off your natural nails. Start from the cuticle area and work your way to the tip. Be careful not to scrape too hard or too deep, as this can damage your nail bed and cause pain or infection.
- If there are any stubborn bits of gel x nails left on your nails, you can either soak them again in acetone or file them off with a fine-grit nail file (240 grit or higher). Do not peel or pull them off, as this can rip off layers of your natural nail and weaken them.
- Wash your hands with soap and water to remove any traces of acetone and gel x nails. Apply a moisturizing lotion or oil to your nails and cuticles to hydrate and nourish them. You can also apply a clear nail polish or a nail strengthener to protect your nails and prevent them from breaking or splitting.
How To Remove Gel X Nails In Detail Steps
With the right supplies and technique, removing gel X nails at home can be done safely and effectively without any damage. Not only DIY removal will save your time and money, but it will give your nails a break from regular salon manicures. Here is a comprehensive step-by-step guide to properly removing gel X nails at home.
The key is having the necessary supplies on hand and taking adequate time to properly dissolve the gel polish without damaging your natural nails. By following these comprehensive steps, you can achieve a safe gel nail removal at home.
Supplies for removing gel x nails at home
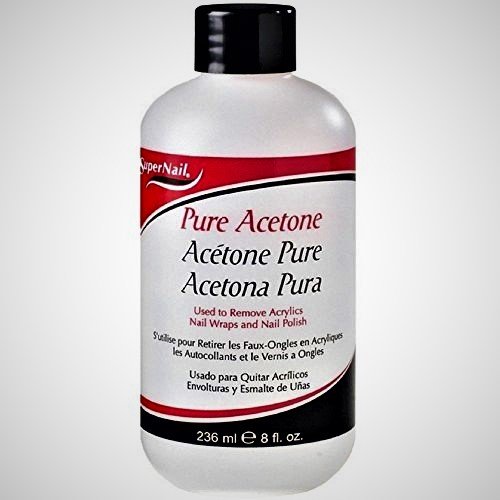
Acetone nail polish remover
Acetone is the only solvent strong enough to dissolve the polymer bonds in gel nail polish. Look for a remover specifically meant for removing gel nails. Acetone alternatives will not effectively remove hard gel nails.
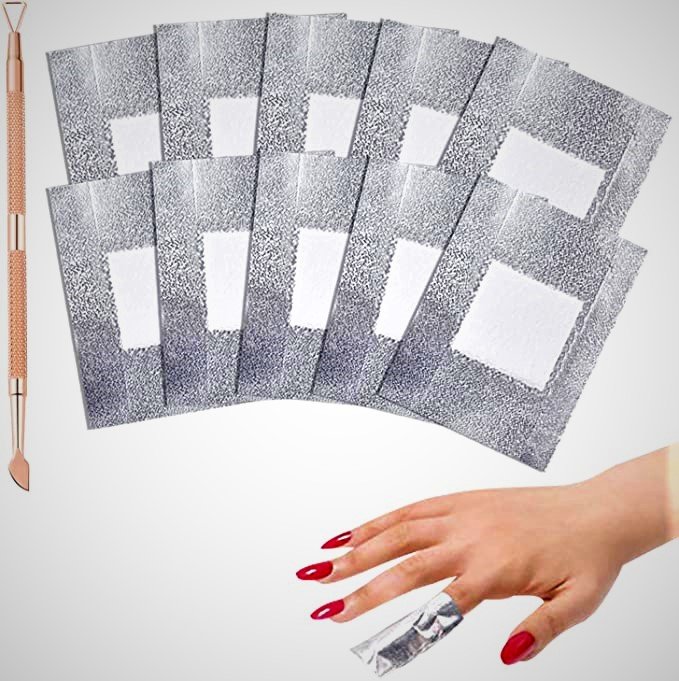
Aluminum foil
Small pieces of foil are used to wrap each fingernail to trap the acetone and help loosen the gel polish.
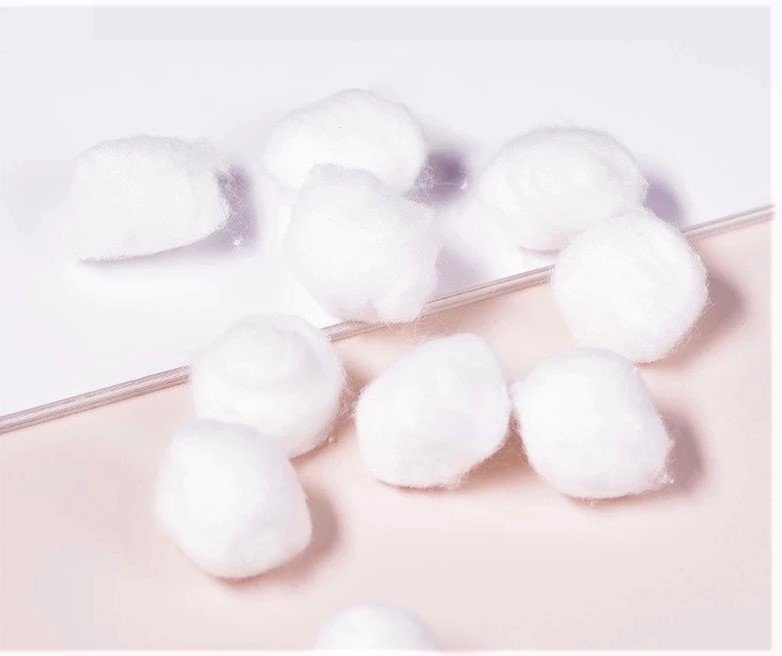
Cotton balls or pads
Use cotton balls or pads to apply the acetone remover to each nail and tools for scraping and pushing back cuticles Have on hand rubber-tipped or wooden cuticle pushers and nail files for gently scraping away softened gel polish and pushing back cuticles. Orange sticks can also be used.
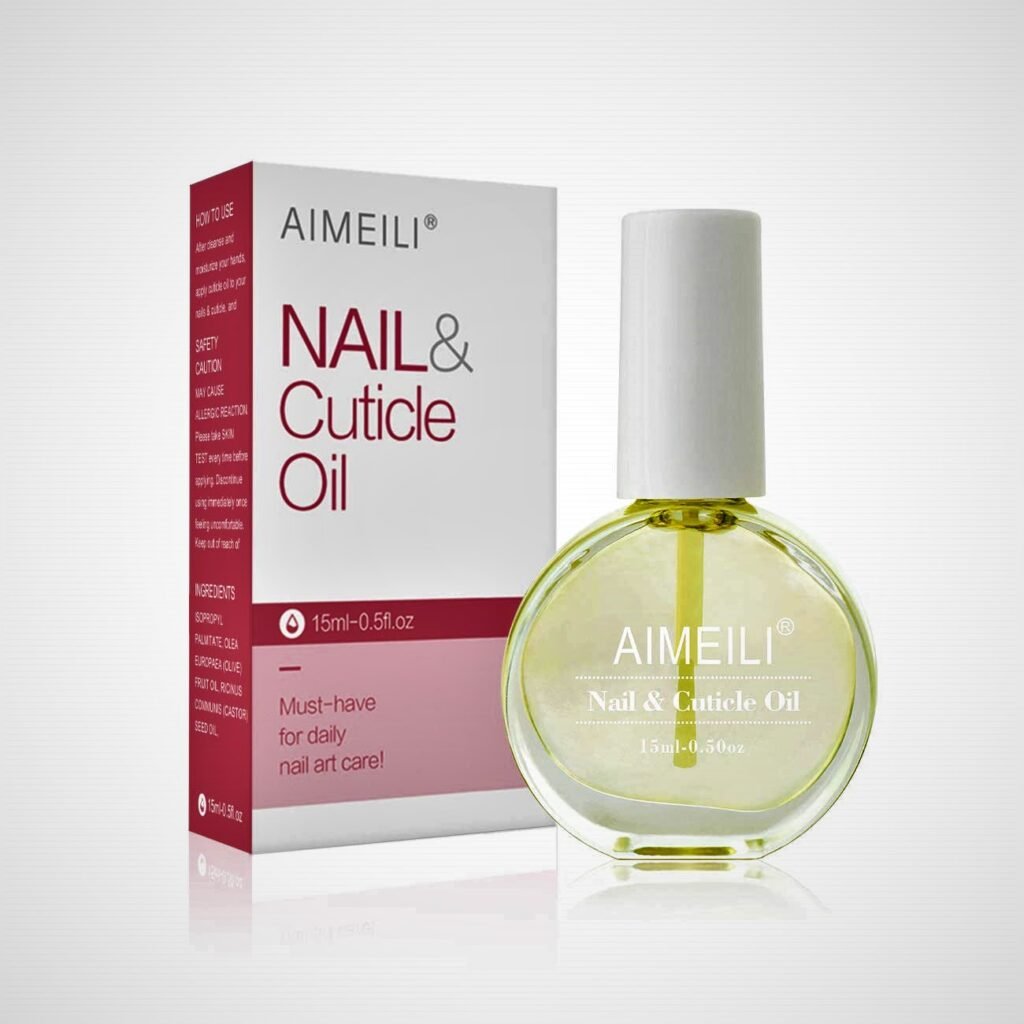
Nail oil or moisturizer
Your nails and skin may feel dry after the removal process. A hydrating nail oil, cream, or moisturizer should be used to rehydrate them.
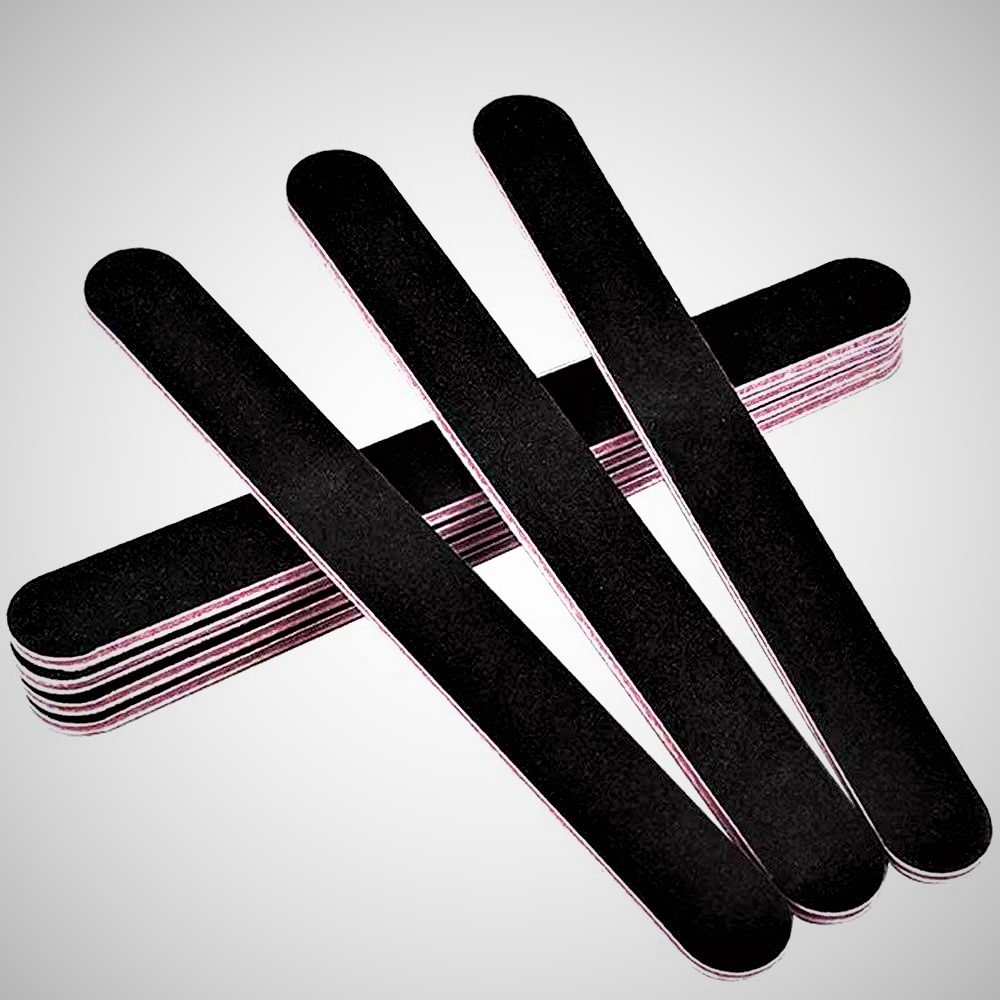
Nail file or emery board
Gently file down the surface of the gel nails before soaking in acetone. This will allow for better acetone absorption to lift the gel polish from your natural nails.
Nail clippers
If your gel nails have significant length, use nail clippers to trim them down prior to filing and the soaks-off process.
How to take off gel x nails at home
To remove gel x nails at home step by step guide for removing gel x nails at home naturally without taking any damage to your nails. Follow the steps given below for removing gel x nails.

Step 1: Clip and File Gel Nails
The first step is filing down the thickness and length of your gel nails. Trim nails with clippers and use a nail file or emery board to file the gel nails down by about 1/3 of their current length. File the nail surface, especially the outer edges near the natural nail perimeter.
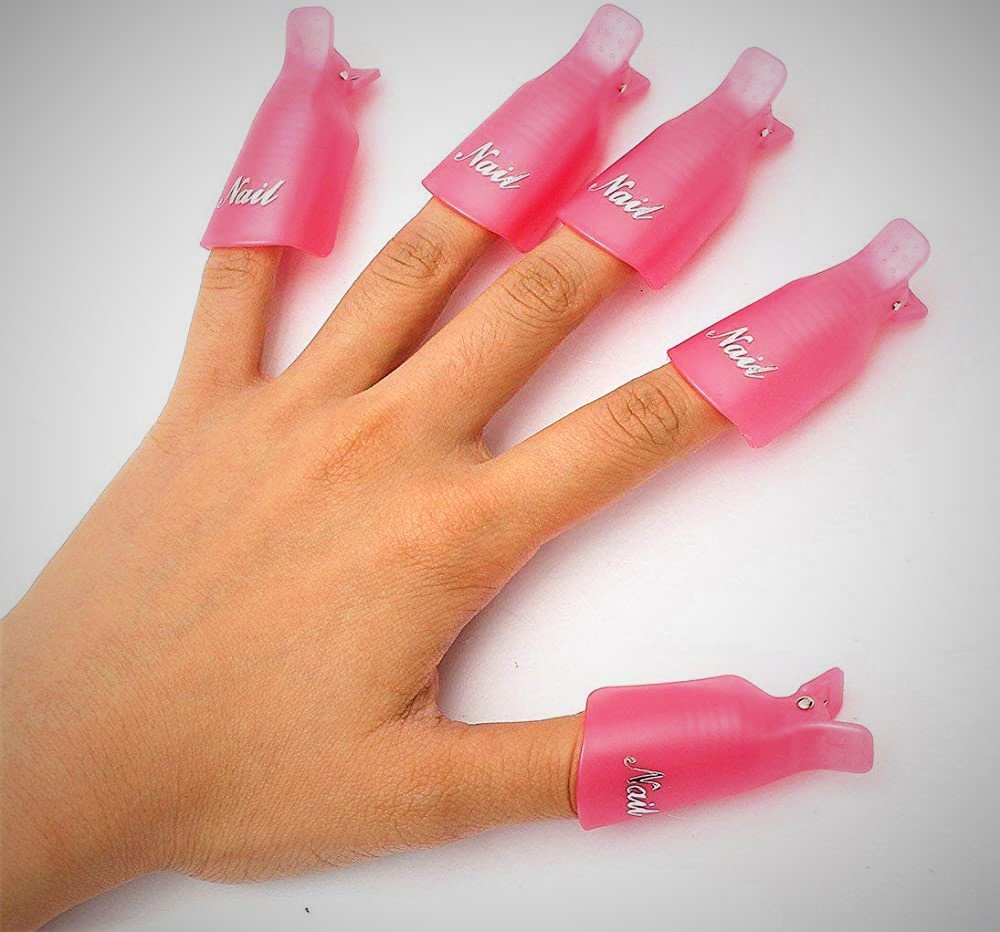
Be very gentle while filing as the acetone will continue to soften the gel. Do not over-file, just rough up the surface. This step allows for better acetone absorption and makes the gel easier to lift off your natural nails.
Step 2: Apply Acetone Remover and Foil Wraps
Next, apply a generous amount of 100% acetone nail polish remover to cotton balls. Place one cotton ball over each gel nail, ensuring the entire nail is covered.
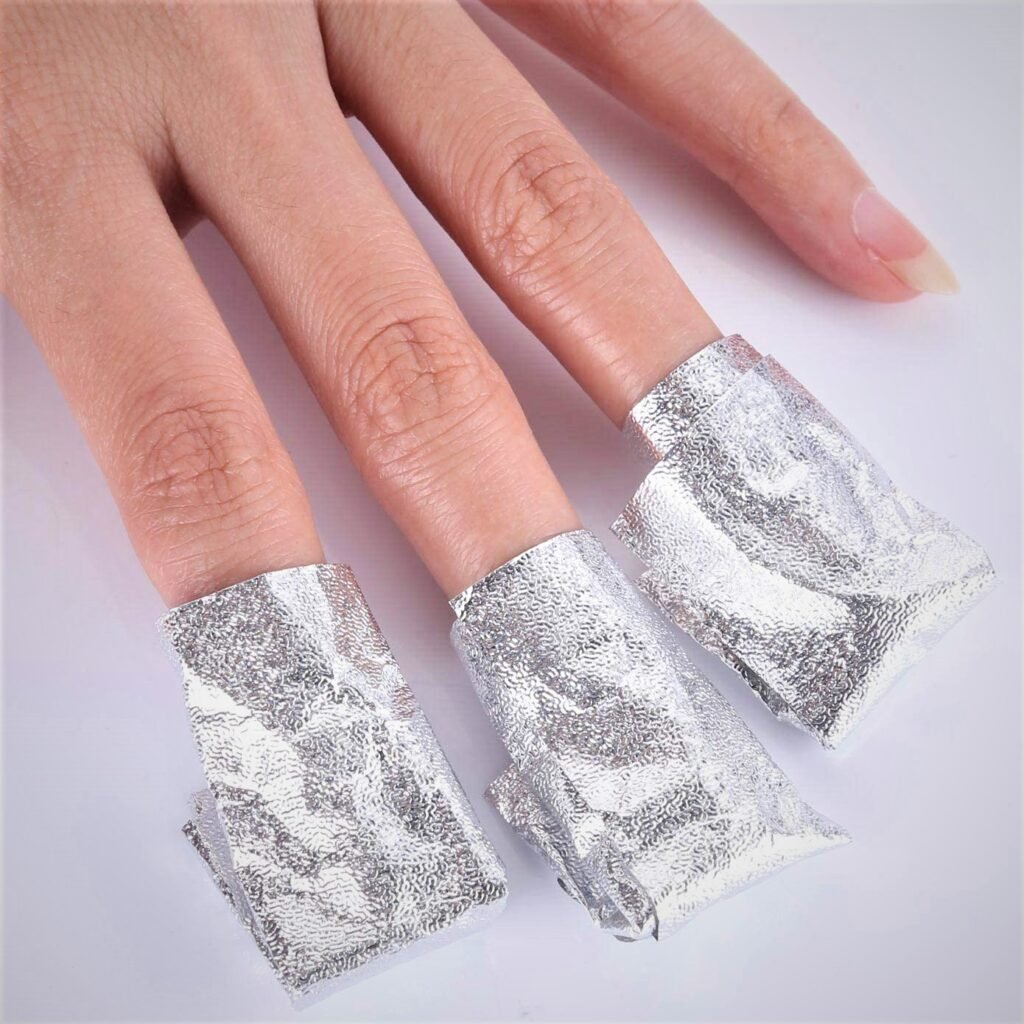
Then, take small pieces of aluminum foil and wrap them around your fingertips, securing the cotton balls over your nails. Wrap tightly enough to keep the acetone-soaked cotton balls securely in place over each nail during the soak time.
The foil wraps help lock in the acetone, allowing it to soften the gel polish for easy removal. Be sure each nail is properly wrapped in foil with a saturated cotton ball before moving on.
Step 3: Soak Gel Nails
Keep your nails wrapped in the foil for 10 to 20 minutes to allow the gel polish to adequately soften for removal. For stubborn or older gel manicures, a full 20 minutes may be needed. It is best to do one hand at a time, leaving the other still wrapped, to avoid repeatedly unwrapping and rewrapping.
The gel needs sufficient time to dissolve, so be patient through this step. Avoid rushing the process. The foil method, combined with a lengthy soak time, is a key to a safe gel nail removal at home.
Step 4: Remove Foil and Gel Polish
After 10 to 20 minutes have passed, remove the foil and cotton balls from one hand. Use a rubber-tipped cuticle pusher, orange stick, or nail file edge to gently scrape off the softened gel from your nails, wiping away any remaining residue with new cotton balls soaked in acetone.
Take your time and do not forcefully scrape your nails. Let the acetone do the work. Then use a nail file to lightly file the surface of your nails to remove any remaining debris.
Apply nail oil and use a cuticle pusher to gently push back your cuticles. Repeat the removal process on your other hand. Your nails may feel overly dry from the acetone exposure, so moisturize them well after the gel has been removed from both hands.
Step 5: Unwrap and Gently Remove Gel
After adequate time has elapsed, remove foil and gloves/socks from the first nail. Use a nail file, cuticle pusher, and cotton pad soaked in acetone to gently scrape and wipe the dissolved gel from your natural nail. Do not forcefully scrape nails, as they will be softened from soaking. Let the acetone and tools do the work.
Continue unwraps one nail at a time, removing gel from each nail before moving on to the next. This avoids having to re-wrap nails you have already cleaned up. Use acetone-soaked cotton pads to wipe off any remaining residue on nails and around the cuticle area. For stubborn bits of gel around the edges or cuticle, you may need to reapply a small amount of acetone to dissolve before scraping gently with a nail file.
Step 6: Re-file Nail Surface and Moisturize
Use an emery board to lightly re-file the surface of your natural nails to remove any remaining roughness from dissolved gel layers. Then apply cuticle oil or moisturizer to hydrate your nails and the skin around them. Nails will be dehydrated from the acetone, so oiling them is important to re-nourish.
Step 7: Repeat Process for Stubborn Gel
If there are any patches of gel that did not fully dissolve or wipe away easily, you may need to repeat the process by re-soaking that nail for 5 to 10 minutes until the remaining gel softens enough for removal. Be very careful not to over-soak nails. Hydrating and conditioning your nails after completing the removal process will help prevent over- dryness from repeated acetone exposure.
It is best for most DIY gel X nail removals to stick to a single soaking and removal session. Only repeat the process for targeted areas of stubborn gel polish if truly needed. Your natural nails will appreciate limiting time in contact with harsh chemicals.
Step 8: Give Your Nails a Break
After removing your gel X nails, give your natural nails at least 2-3 days of rest from any nail polish or treatments. This allows your nails adequate time to recover hydration and moisture. For damaged or weak nails, additional rest periods between gel manicures may be required. It is a good rule of thumb to limit gel manicures to 2-3 per month maximum to avoid overuse.
Step 9: Moisturize Your Nails
After removing the gel polish from both hands, it is important to rehydrate your nails and the skin surrounding them. Apply a thick nail oil, cream, or moisturizer and message it into your nails and cuticles. Natural nails will feel dry after the removal process, so focus the hydration products on the nails and apply regularly for several days after removal.
Step 10: Avoid new manicure
Avoid any new manicure for at least 2 to 3 days to give your nails an adequate rest from the stresses of the gel application and removal process. Bare nails will benefit most from a natural break with extra moisture added. Listen to your nails and do not reapply any new gel manicure your nails feel stronger and rehydrated. With the proper aftercare, your natural nails will recover well from a gel manicure removal at home.
Tips for removing gel X nails at home
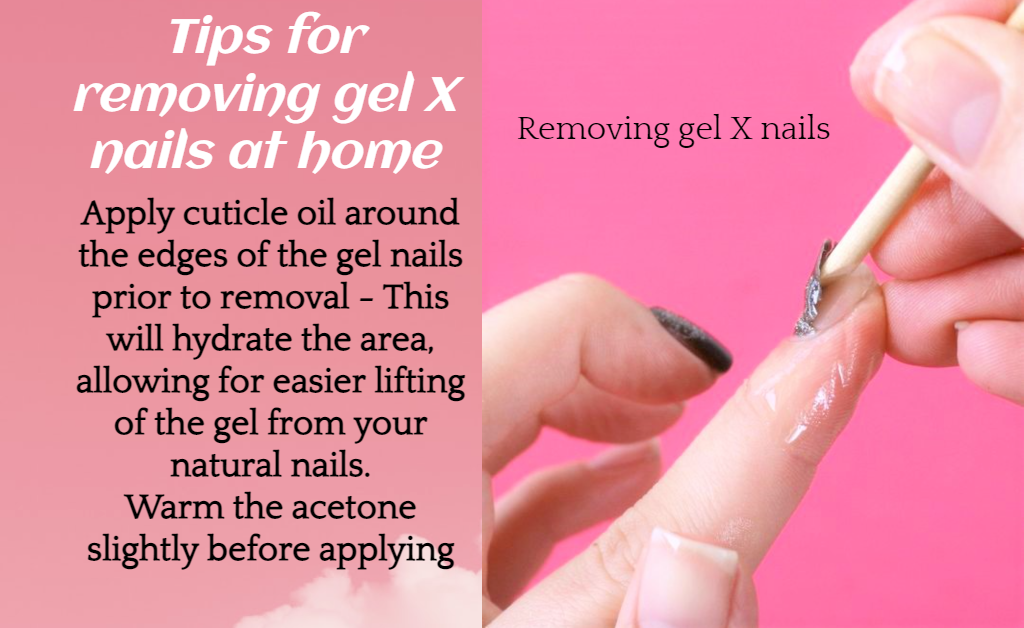
- Here are some possible ways to improve your tips for removing gel x nails at home:
- Before you start the removal process, apply some cuticle oil around the edges of your gel nails. This will moisturize the area and make it easier to lift the gel off your natural nails.
- To make the acetone more effective, you can warm it up slightly before soaking your cotton balls or pads. Do not use a microwave to heat up the acetone, as this can be dangerous. Instead, place the bottle of acetone in a bowl of warm water for a few minutes.
- Use thick and fluffy cotton balls or pads to soak up the acetone. They will hold more liquid and stay in contact with your nails longer. This will help dissolve the gel polish faster and more thoroughly.
- When you reapply the acetone after the first soak, use fresh cotton balls or pads. The ones that you used before will be saturated with gel polish and will not work as well. You want to use clean and wet cotton to remove the remaining gel.
- Once the gel is soft enough, you can gently pry it off your nails using a nail file. Start from the edges and work your way to the center. Apply even pressure and do not force the gel off. This can damage your natural nails and cause them to break or split.
- After you remove the gel, your natural nails may be weak and brittle. To strengthen them, you can apply a nail hardener one or two days later. Follow the instructions on the product and do not overuse it, as this can make your nails too hard and prone to cracking.
- If you love the look of gel nails, but want to avoid the hassle of removing them, you can try some gel alternatives for your natural nails. There are some nail polish lacquers that can last as long as gel manicures, but are easier to remove. They also do not damage your natural nails as much as gel polish.
Conclusion
Gel x nails are a great way to enjoy a beautiful and long-lasting manicure, but they also require proper care and removal. By following the steps above, you can remove gel x nails at home safely and easily without damaging your natural nails. Remember to moisturize and protect your nails after the removal process, and enjoy your healthy and natural nails.
FAQs
How to take off gel x nails at home?

To take off gel x nails at home you can be done well if you go slowly, avoid over-filing, limit time soaking, and properly hydrate your nails after removal. However, for severely damaged or weakened nails, it is often best left to a professional nail technician to remove gel polishes using the gentlest method and provide restorative treatments to help nails recover before the next gel manicure. With some TLC and preventative maintenance, gel manicures and DIY removal can be part of your self-care
How do you remove gel x nails at home?

With the right supplies and technique, removing gel X nails at home can be done safely and effectively without any damage. Not only DIY removal will save your time and money, but it will give your nails a break from regular salon manicures. Here is a comprehensive step-by-step guide to properly removing gel X nails at home.
how long does it take to remove gel x nails?
The entire removal process, including soak times and aftercare, can take between 30 to 50 minutes for a typical gel X manicure. Multiple acetone applications will lengthen this time.
How often should I remove and reapply gel X nails?
It is best to limit gel X manicures to 2-3 times per month to avoid overuse of natural nails to UV light and acetone used in the removal process. Giving nails 1 to 2 weeks of rest between applications is ideal for nail health.
Can acetone damage my natural nails?
Acetone can be drying and damaging to natural nails, especially with frequent or improper use. Limiting acetone exposure, moisturizing nails thoroughly after use, and avoiding back-to-back gel applications can prevent acetone damage. Acetone-free removers may be better alternatives for those concerned about drying effects.
How soon can I get a new manicure after removing gel X nails?
It is best to wait at least 2-3 days after removing gel X nails before your next manicure. This gives nails time to rehydrate and recover from the stresses of gel application and removal. For damaged nails, longer breaks of up to 1 week may be needed between gel X manicures.
How can I avoid damaging my nails during gel X removal?
Go slowly, be gentle, and do not forcefully scrape nails during removal. Apply cuticle oil before starting the removal process. Use warm acetone and thick cotton balls. Gently pry gel from the edges of nails with a nail file. Limit acetone exposure time. Moisturize nails thoroughly after removal. Avoid frequent gel X manicures, giving nails adequate rest between sessions.
Does removing gel X nails hurt?
When done properly at home or by a professional, removing gel X nails should not hurt. As long as the gel polish has been adequately softened in acetone before attempting to lift it from the natural nails, it should gently lift away.

